Pack Out Water Damage: What to Remove First
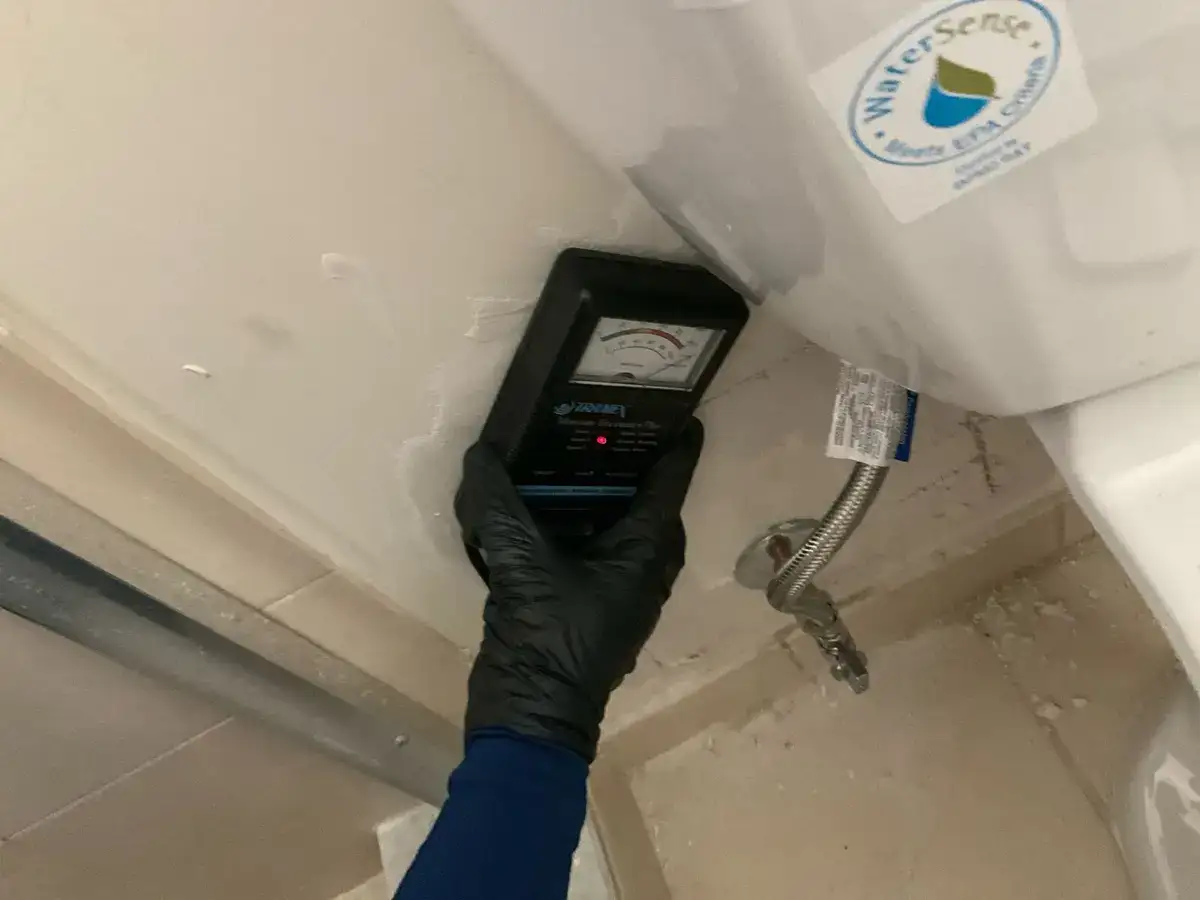
Pack out water damage decisions are where a lot of otherwise organized jobs start to get messy. A homeowner sees wet floors, swollen furniture feet, damp boxes in a closet, and a crew saying the room needs to be cleared. The instinct is often to ask a simple question: "What should I start carrying outside?" The better question is whether the room actually needs a true pack-out, a partial contents move, or a stricter stop-and-document pause before anything significant gets touched.
That distinction matters because contents decisions affect everything downstream. They change how fast a structure can dry, how much of the claim file stays organized, what can realistically be salvaged, and how much risk you take by moving the wrong items too early. Total Care Restoration's water damage restoration service frames water losses as a hidden-moisture problem as much as a visible-water problem, and that is exactly why contents cannot be treated like an afterthought.
In practical terms, a pack-out means belongings are inventoried, separated, and moved out of the affected area so the structure can be cleaned, opened, dried, and monitored properly. Sometimes that means a few rooms worth of contents. Sometimes it means only a tight zone near the wet materials. Sometimes it means no major move at all because the crew can protect the contents in place while they dry the building around them.
The goal of this guide is to help you tell the difference before the room turns into a pile of wet cardboard, unlabeled bags, and missing receipts.
| If the room looks like this | The smarter first move | Why it matters |
|---|---|---|
| Water is clean, localized, and the crew still has access around contents | Ask whether a partial room move is enough | Not every job needs a full off-site pack-out |
| Furniture, boxes, or inventory are blocking wall access and airflow | Document, label, and clear the path deliberately | Drying slows down when equipment and inspections cannot reach wet materials |
| Sewage, floodwater, or heavy contamination touched contents | Stop DIY sorting and let the mitigation lead direct the scope | Safety and disposal rules change fast with contaminated water |
| The adjuster has not seen the damage yet | Photograph first, separate damaged from undamaged items, and keep samples if disposal starts | Claim organization gets harder once the room is stripped |
Contents decisions should follow the moisture map, not just what looks wet at a glance.
What a pack-out means in water damage restoration
A true pack-out is more than "moving stuff out of the way." In restoration work, it usually means contents are identified, documented, grouped by condition, and relocated so the affected structure can be inspected, opened, dried, cleaned, and rebuilt without your belongings blocking the process.
That process exists because water losses do not stay politely on the floor. In TCR's complete water damage guide, the core warning is that moisture often hides behind walls and under floors even after a room looks calmer. The contents in front of those walls matter because cabinets, stacked boxes, upholstered furniture, and packed closets can slow or even hide the real wet zone.
In a light loss, a crew may only need to shift a few items to create drying lanes and inspection access. In a heavier loss, especially one involving carpeting, lower drywall, cabinetry, or saturation that spread beyond one room, contents can become a physical barrier to the whole job. At that point, a pack-out is not about convenience. It is about letting the restoration plan happen in the first place.
There is also a documentation reason. Once belongings are mixed together, dragged across wet rooms, or discarded in batches, it becomes much harder to prove what was damaged, what was only threatened, and what should have been protected. That is why a disciplined pack-out scope often starts with photos, labels, and separation before it starts with muscle.
Signs drying in place is no longer enough
Homeowners often picture a pack-out as an all-or-nothing emergency, but most jobs actually tip into it through a few predictable signs.
The first sign is blocked access. If furniture or stored contents prevent the crew from reaching base walls, under-sink areas, closet corners, or floor transitions, the room cannot be evaluated honestly. TCR says professional water-damage inspections rely on moisture meters and thermal imaging because hidden water is common. If the crew cannot get the meter where it needs to go, your belongings are now part of the drying problem.
The second sign is airflow interference. Air movers and dehumidifiers need room to work. When contents are packed tightly along wet walls or clustered in the middle of the room, evaporation slows and moisture can linger in the structure. That does not just extend inconvenience. It increases the odds of swelling materials, odor, and mold risk.
The third sign is layered materials. Once water has reached carpet and pad, lower drywall, cabinet toe-kicks, or packed storage sitting directly on wet floors, the question stops being "Can I wipe this off?" and becomes "Can the room be opened and dried without moving a meaningful amount of contents first?"
The fourth sign is claim complexity. If the room contains a lot of electronics, paper records, boxed contents, soft goods, or mixed damaged and undamaged items, a sloppy in-place shuffle can create a bigger mess than a controlled move. NFIP guidance is useful here even outside flood-only situations because the discipline is sound: photograph first, separate damaged from undamaged property, and preserve documentation while the loss is still legible.
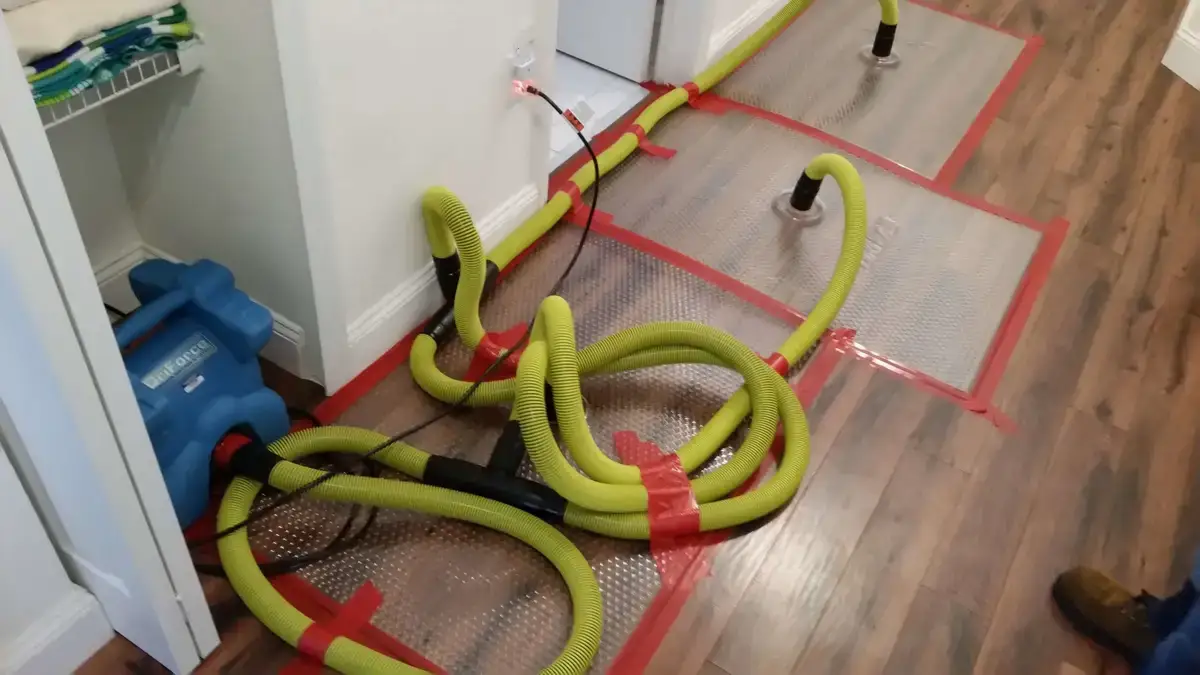
Drying gets slower and less reliable when stored contents keep crews from the walls, floors, and lower cavities that actually need to be measured.
What to photograph label and move first
Before cleanup becomes a blur, focus on the contents that are easiest to lose track of and hardest to prove later.
Start with documentation. The National Flood Insurance Program's documentation guidance says to take clear photos and videos before cleaning, fixing, or throwing anything out. That means wide shots of the room, close-ups of damage, and serial numbers from electronics and appliances where relevant. TCR's emergency checklist says the same basic thing: document first, then move.
After that, think in four groups:
- High-value items that can be documented quickly - electronics, small appliances, tools, handbags, art, and anything with a serial number or clear model label.
- Sensitive materials that deteriorate fast - papers, books, textiles, and boxed storage sitting directly in the wet zone.
- Undamaged items you can protect from secondary exposure - contents that are not yet wet but will get hit if the room stays crowded.
- Bulky pieces that block access - furniture, shelving, or floor-level storage that prevents wall checks, tear-out, or equipment placement.
For labeling, simple beats elaborate. Use room names, short descriptions, and condition notes that help you answer later questions such as "Was this wet, splashed, or only moved as a precaution?" If you are dealing with many items, ask the mitigation lead how they want zones or inventory groups labeled before you start creating your own system.
The most common mistake here is trying to make the room look tidy too fast. A wet room that has been carefully documented is far more useful than a neat room that no longer proves what happened.
What should stay for the adjuster or mitigation lead
This is where homeowners often create avoidable claim problems.
NFIP's claims checklist says not to discard damaged items before the adjuster sees them unless they present a health hazard or local law requires disposal. It also says to keep samples of damaged carpet, drywall, insulation, and similar materials if disposal begins. Even when your loss is not an NFIP claim, that logic is still valuable because it protects the evidence trail.
In practice, that means you should usually pause before throwing away:
- saturated carpet or pad
- base drywall cutouts
- ruined boxed goods that show the water line
- damaged flooring samples
- electronics with visible water exposure
- anything the adjuster may need to classify as repair versus replacement
That does not mean unsafe materials should sit around indefinitely. It means the order matters. Photograph first. Confirm with the adjuster or mitigation lead what needs to stay visible. Keep samples when disposal is unavoidable. Save invoices and replacement receipts as the job progresses.
TCR's emergency checklist also makes a useful operational point: cleanup and drying do not have to wait for an adjuster to physically arrive. But moving fast is different from stripping the room blindly. Good crews know how to mitigate damage while still preserving the record.
How contaminated water changes the contents decision
This is the line between a frustrating job and a dangerous one.
If the water involves sewage, floodwater, or another contaminated source, the contents discussion changes immediately. TCR's checklist explicitly says contaminated water is a professional-cleanup situation, not a homeowner sorting project. EPA takes the same stance in plainer language: if water or mold damage came from sewage or other contaminated water, call a professional experienced in that type of cleanup.
Why? Because contamination changes both safety and salvage. Items that might be manageable after a clean-water leak can become disposal candidates after black-water exposure. Porous materials are especially vulnerable. EPA notes that porous or absorbent materials may need to be thrown away if they become moldy because contamination can live inside the material, not just on the surface.
This is also where a pack-out can become narrower, not broader. Homeowners sometimes assume everything should be moved to sort it later. But if contamination is heavy, the safer choice may be to limit handling, isolate zones, and let the mitigation team direct what gets documented, removed, cleaned, or discarded.
The practical rule is simple: the more questionable the water source, the less you should improvise.
When a partial room move is enough and when a full pack-out is smarter
A partial room move is often enough when the loss is localized, the water is not contaminated, undamaged belongings can be staged in a dry zone, and the crew still has clear access to wet walls, floors, and cavities. Think of a small clean-water leak where the real need is making room for meters, air movement, and perhaps a limited baseboard or drywall opening.
A fuller pack-out makes more sense when:
- multiple rooms are affected
- contents are dense enough to block drying and tear-out
- a closet, office, bedroom, or retail stock area is too full to separate damaged from undamaged items in place
- upholstery, textiles, papers, or boxed contents are already involved
- the job may stretch over several days of active drying and monitoring
- the room must be rebuilt after demolition, not just dried
There is also a hybrid version that many homeowners overlook. Sometimes the smartest plan is not "leave everything" or "empty everything." It is moving the critical contents first, staging unaffected items in a controlled zone, and leaving certain damaged materials or representative samples in place until the mitigation lead or adjuster confirms the next step.
That middle-ground approach is often what keeps the job both faster and cleaner.
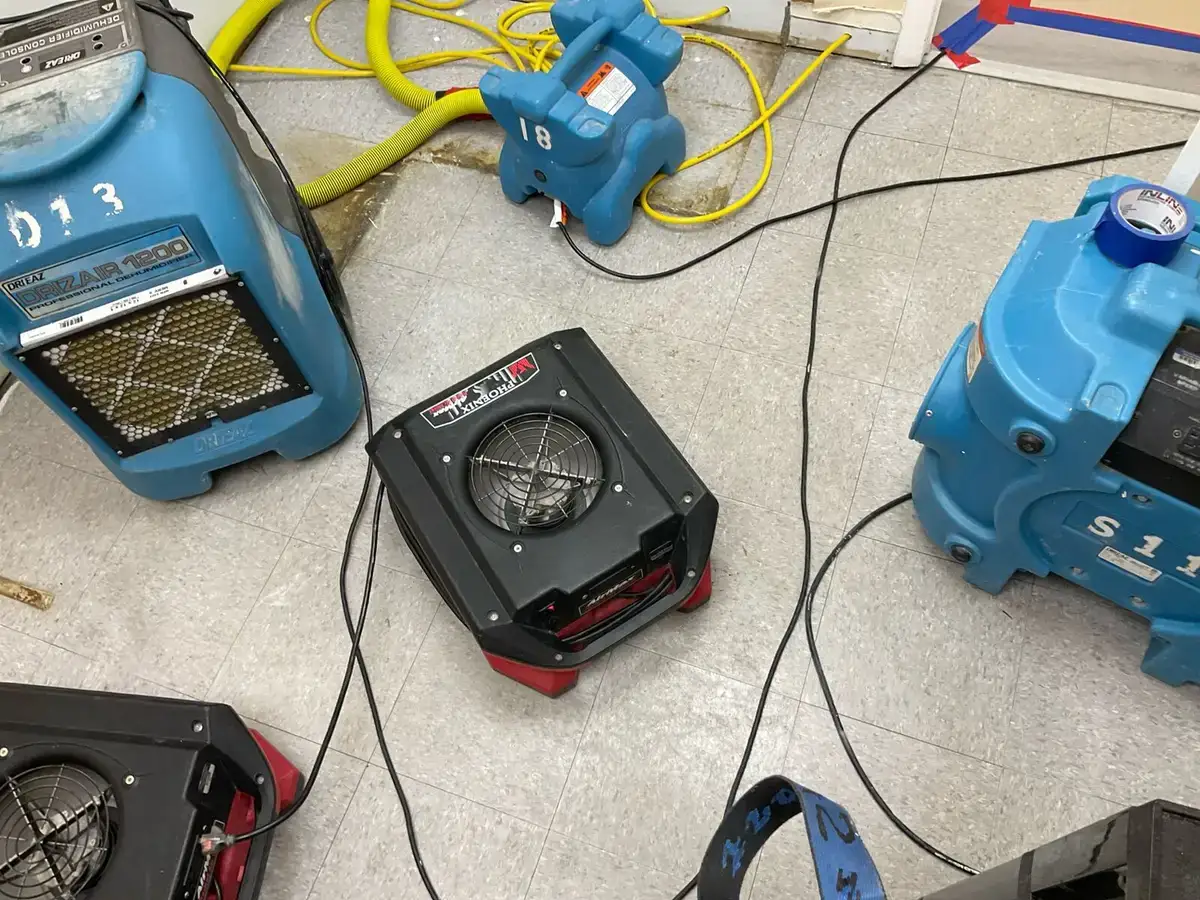
A pack-out earns its keep when it gives equipment, demolition, and moisture checks enough room to work instead of forcing crews to dry around clutter.
How a pack-out protects drying speed and documentation
The easiest way to misunderstand a pack-out is to think of it as a contents service only. It is really a structure-and-contents coordination tool.
When a room is cleared intelligently, the crew can place equipment better, measure more accurately, inspect hidden wet zones sooner, and separate salvage from non-salvage without repeated rehandling. That saves time. It also creates better notes, photos, and invoices because the loss is being organized while it is still understandable.
TCR's water-damage guidance emphasizes that professional drying is not just about putting fans in a room. It is about moisture detection, dehumidification, and reaching the hidden wet materials that homeowners tend to miss. A pack-out supports that goal by turning crowded rooms into measurable drying zones.
Documentation improves too. NFIP's checklist recommends separating damaged from undamaged property, logging conversations, and keeping claim records. Those same habits matter on non-flood jobs because they reduce the chaos that usually surrounds contents handling. If the team can tell what was moved, why it was moved, where it went, and what condition it was in, the job is easier to defend later.
That is why the best pack-out scopes feel methodical, not dramatic.
Questions to ask before approving a pack-out scope
If a crew says the room needs a pack-out, ask questions that make the logic visible:
- Which wet materials cannot be reached or dried unless contents move?
- Is this a full pack-out, a partial room move, or a protect-in-place plan?
- What part of the contents are damaged, and what part is only being moved for access?
- How will items be photographed, labeled, and separated?
- Which materials need to stay for the adjuster, and what samples should be kept if disposal starts?
- Did contaminated water touch any of these belongings?
- Where will unaffected items be staged so they do not become the next layer of damage?
- What conditions would let some contents stay in place instead?
Those questions do not slow a good contractor down. They usually help the contractor explain the job more clearly. And if the explanation stays vague, that tells you something too.
If you need help sorting a South Florida loss that is moving from "wet room" to "full restoration project," Total Care Restoration's emergency restoration team and water damage guide show the sequence homeowners should expect: document first, protect what you can, dry the structure properly, and let contamination level and access needs decide how aggressive the contents move should be.
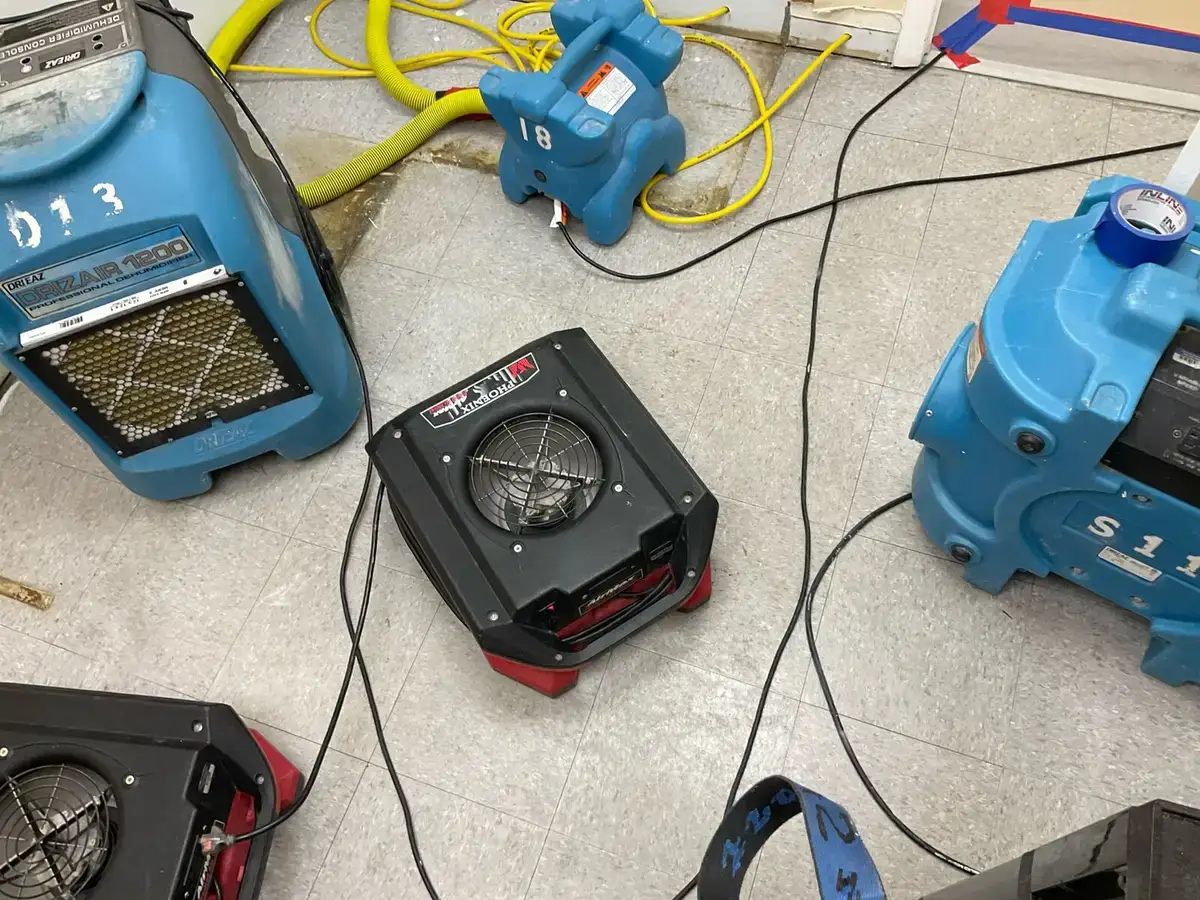
The right contents plan is the one that keeps the structure measurable, the salvage separated, and the claim file easier to defend later.
This article is for general education, not legal, medical, or insurance-coverage advice. Water losses vary by source, contamination level, building materials, and policy terms, so confirm the right cleanup, documentation, and disposal steps with qualified restoration professionals and your insurer.
Want to Learn More?
Read our comprehensive guide covering everything you need to know about this topic.
The Complete Guide to Water Damage Restoration in South FloridaNeed Professional Help?
Our expert team is ready to assist with your water damage restoration needs.
View Water Damage Restoration Services