Water Damage Documentation Checklist for Insurance Claims
A water-damage insurance checklist is not one form. It is a stack of proof that stays organized while the house or building is still changing: photos before cleanup, room notes, damaged-item lists, temporary-repair receipts, drying records, and clear explanations of what was removed and why.
That is the part many owners underestimate. Water damage does not wait for paperwork to calm down. According to the U.S. Environmental Protection Agency, wet areas and materials should usually be dried within 24 to 48 hours to help prevent mold growth. At the same time, the Insurance Information Institute, Ready.gov, and Florida’s homeowners insurance overview all push the same basic discipline: document the loss, protect the property from getting worse, and keep records.
The goal is not to create perfect paperwork on day one. The goal is to keep the file clear enough that the adjuster, mitigation team, contractor, and property owner are all looking at the same story.
| File section | What to save | Why it matters |
|---|---|---|
| Scene file | Wide shots, close-ups, source photos, water lines, timestamps | Preserves what the property looked like before cleanup changes it |
| Room log | Room name, affected materials, measurements, notes on hidden moisture or active leaks | Stops vague descriptions from taking over the estimate |
| Contents inventory | Item name, age, quantity, amount paid, serial numbers when available | Helps separate salvage, replacement, and questions about ownership |
| Mitigation file | Work authorizations, temporary-repair receipts, drying invoices, equipment lists | Shows what was done quickly to prevent more damage |
| Drying file | Moisture readings, progress photos, equipment notes, daily checks | Explains why the job continued after standing water was removed |
| Disposal and rebuild proof | Tear-out photos, disposal notes, estimates, updated scope | Shows why removal happened and what moved from mitigation into repair |
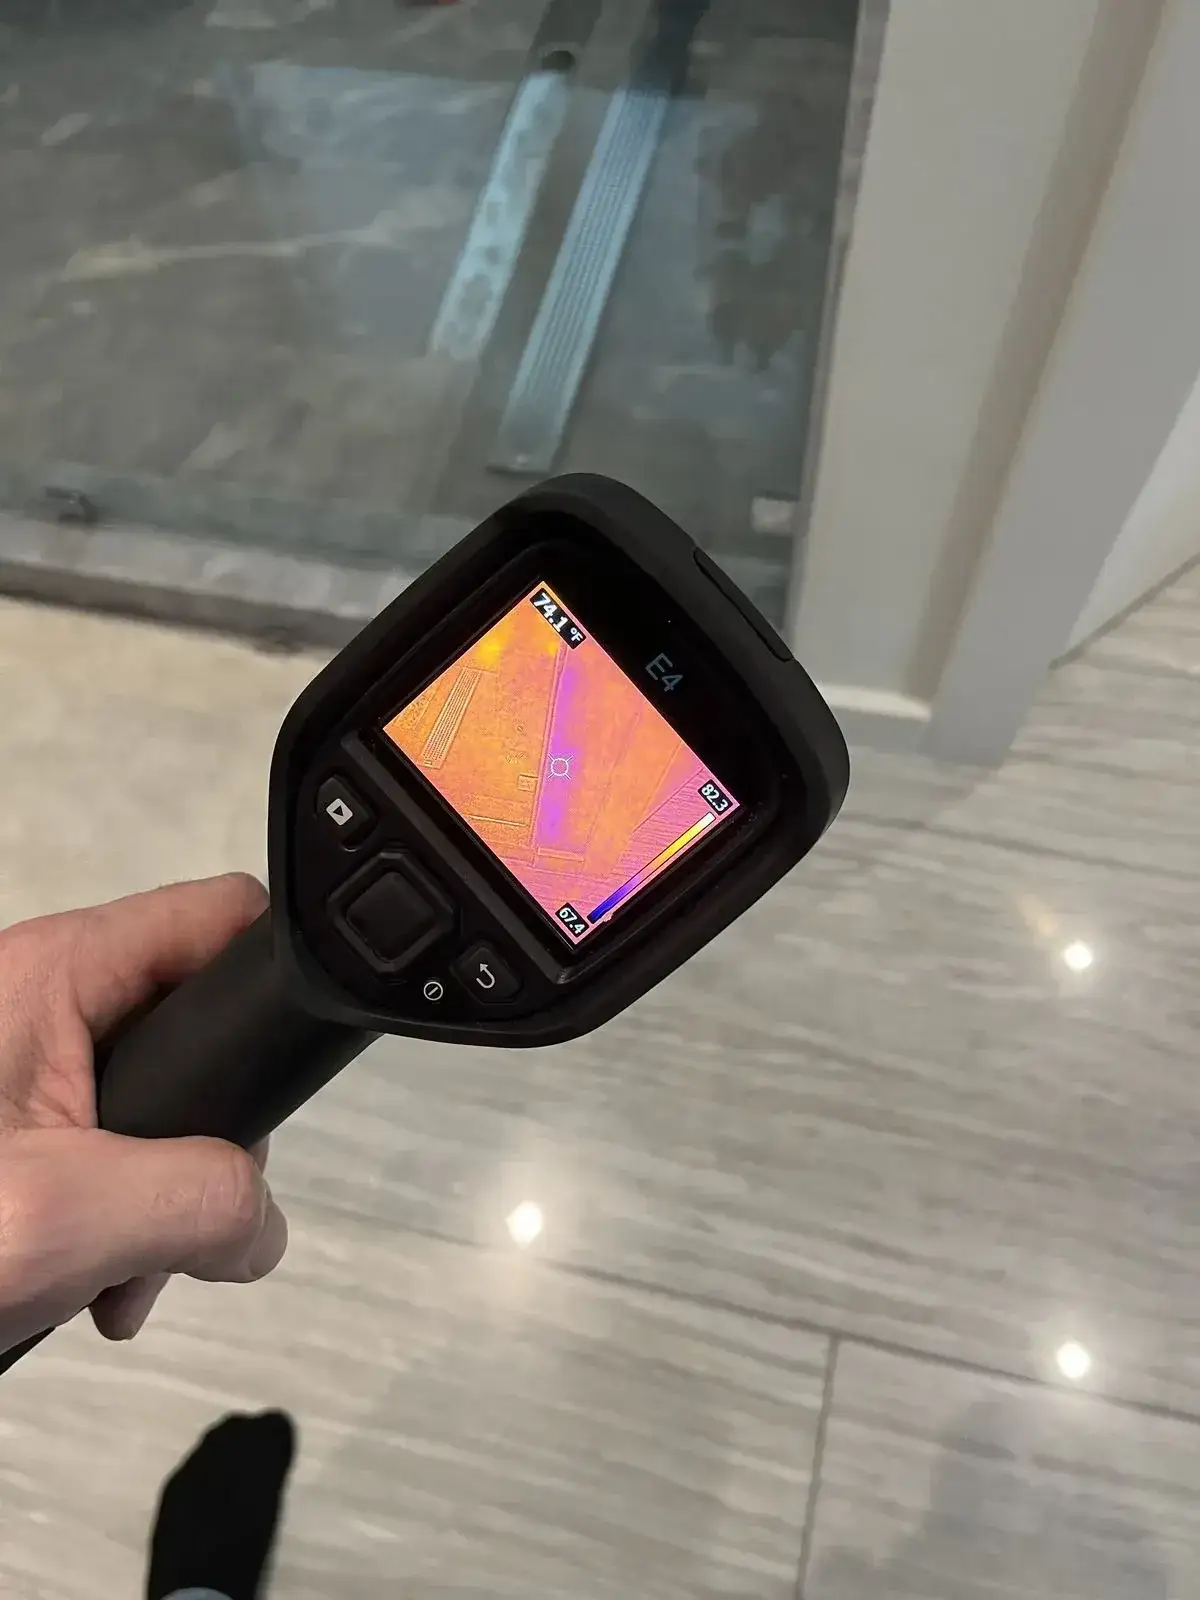
Early assessment photos help the file stay coherent before moving contents, demolition, or equipment placement changes the scene.
Why documentation falls apart after water damage
The file usually breaks down for simple reasons: people start cleaning before photographing, receipts end up in multiple places, contractors describe rooms differently, and the property looks different every few hours.
That is exactly why Total Care Restoration's complete water-damage guide frames quick action as both a property-protection issue and an evidence-preservation issue. The guide says owners should document affected areas, the source of the leak, and damaged belongings before cleanup begins. Florida’s consumer guidance says much the same thing: make reasonable temporary repairs, keep accurate records and receipts, and photograph the damage before those repairs if possible.
A good checklist solves two problems at once:
- it gives the restoration and claim file a consistent sequence
- it lowers the odds that the estimate gets built from memory instead of proof
Pro tip: Create one phone album and one cloud folder immediately. Name them with the date of loss and the property name or address, then keep every photo, PDF, invoice, and note inside that same structure from the first day forward.
This is also where the first major boundary matters. If the water is contaminated by sewage or another hazardous source, stop the do-it-yourself sorting mindset. EPA says contaminated-water losses should be handled by professionals experienced in that kind of cleanup, and TCR's checklist says sewage or floodwater is a leave-the-area signal rather than a normal homeowner cleanup job.
What to photograph before cleanup changes the scene
The most useful photo set is not glamorous. It is repetitive, specific, and easy for someone else to follow.
TCR's emergency water-damage checklist recommends room-by-room wide shots, close-ups of damaged surfaces and belongings, and photos of structural damage before cleanup starts. The company’s damage-assessment guide adds another important detail: each piece of visual evidence should be labeled with the date, time, and location.
A practical sequence looks like this:
- Start outside the room. Photograph the doorway or approach so the reviewer understands where the damage sits in the property.
- Take wide shots first. Capture the whole room from multiple corners before furniture or debris is moved.
- Move to close-ups. Focus on water lines, buckled flooring, stained drywall, warped cabinets, damaged contents, and suspected source points.
- Capture the cause if visible. That could be a supply-line break, roof opening, appliance failure, overflowing fixture, or storm entry path.
- Document what changed after emergency action. If water was extracted, utilities were shut down, or a tarp or temporary repair was installed, photograph the before-and-after condition.
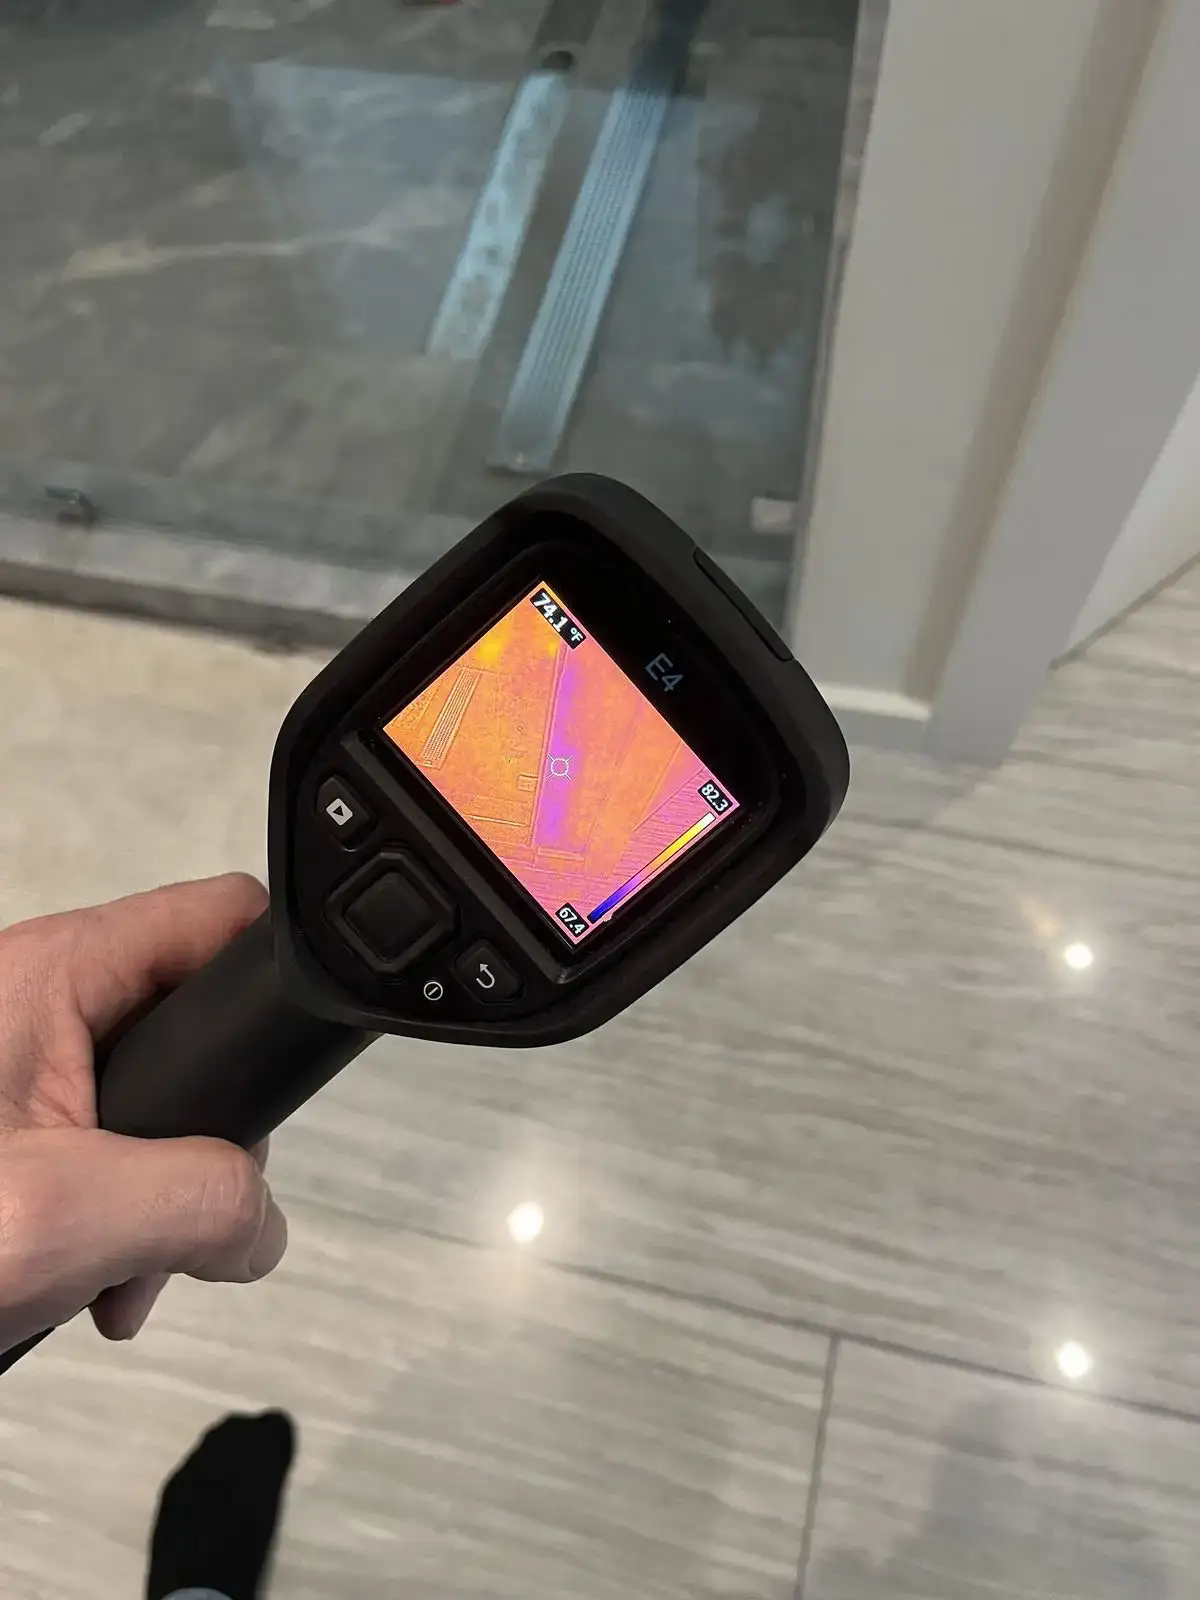
Wide shots explain the room. Close-ups explain the material damage. You usually need both before anyone touches the scene.
The Insurance Information Institute says owners should photograph or videotape damage, make temporary repairs that prevent further loss, and save receipts. Ready.gov adds the same core advice: take photos before cleanup, make a list, and keep receipts for cleanup and repair costs.
Where people get sloppy is labeling. If your images are named IMG_4831 through IMG_4902, you are creating work for yourself later. A stronger structure is:
kitchen-wide-north-wall-01kitchen-sink-base-cabinet-water-line-02hallway-flooring-buckle-03guest-bath-overflow-source-04
That level of specificity helps when you later connect a photo to a receipt, a room note, or a tear-out decision.
How to build the room-by-room damage log
Photos alone are not enough once multiple rooms, materials, or contractors are involved. You need a written log that translates the scene into scope.
TCR's standardized damage-assessment guidance is useful here because it pushes away from vague notes like “water damage in basement” and toward specific entries with measurements, material types, severity, and estimate source. The same guide says forms should record the discovery time, immediate mitigation actions, and narrative details that explain what happened.
A simple room log can include:
- room name
- approximate affected area
- materials affected
- whether the issue looks surface-level or deeper
- whether the source is active, stopped, or unknown
- whether contents were moved, removed, or left in place
- which photos match that room
For example, “guest bathroom wet” is weak. “Guest bathroom: toilet overflow affected tile floor, 12 linear feet of base drywall, vanity toe-kick, bath mat, and adjacent hall threshold; source stopped at 9:15 a.m.; Photos 12-19” is much stronger.
That kind of logging matters because water damage changes categories quickly. What looked like a small visible wet area may become a cabinet-base issue, lower-wall issue, or subfloor issue once meters or thermal imaging show hidden moisture. TCR’s water-damage guide says professionals use thermal imaging, moisture meters, and hygrometers to find that hidden spread. Your room log should leave space for those later updates instead of pretending the first glance told the whole story.
What receipts invoices and work authorizations belong in the file
The claim-support file is not only about damage proof. It is also about showing what you spent and why you spent it.
Florida’s consumer guidance says insureds should make reasonable temporary repairs, keep accurate records and receipts, and compile an inventory of damaged property with date of purchase, quantity, description, value, and amount paid. The Insurance Information Institute also tells owners to keep records of additional living expenses if the property becomes temporarily unlivable.
Your file should usually include:
- emergency plumbing or leak-stop invoice
- extraction or mitigation work authorization
- drying invoice and daily equipment notes if available
- tarp, board-up, or temporary-power receipts when applicable
- hotel, meal, or relocation records when displacement is real and policy questions make them relevant
- contractor estimates separated by mitigation versus rebuild when possible
Two habits make this cleaner.
First, keep the receipt next to the explanation. If you buy fans, tarps, contractor bags, or emergency supplies, note what room or problem they were connected to. Second, separate temporary protection from permanent repair. That distinction keeps the file readable when the estimate later splits into mitigation scope, repair scope, and possible supplements.
If you are using a contractor or mitigation team early, read the work authorization carefully before signing. Documentation quality is helped by speed, but not by confusion. The checklist should keep the file organized enough that you know what you are approving and what still needs clarification.
What the drying file should include
This is where many otherwise good claims become fuzzy. Owners document the puddle, save the first invoice, and then stop paying attention once the equipment starts humming.
That is a mistake. TCR’s water damage dry-out process says moisture meters guide whether materials need more drying or replacement, and its main guide says technicians check moisture levels daily until drying is complete. In other words, the drying file explains why the job kept going after the obvious water was removed.
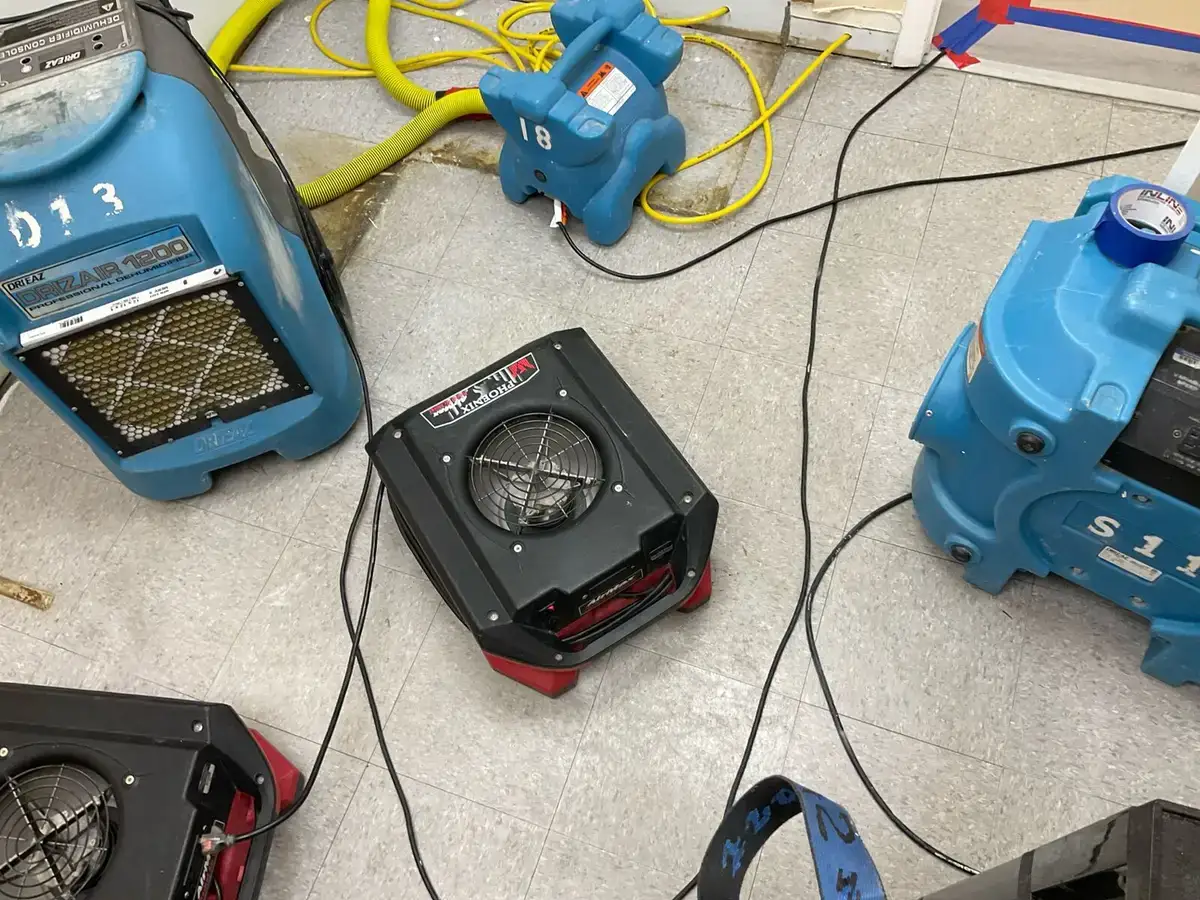
The drying phase is easier to justify when the file shows equipment placement, readings, and progress photos together instead of as separate scraps.
A useful drying file usually contains:
- date-by-date progress photos from the same areas
- moisture readings or technician summaries
- equipment list and placement notes
- notes about materials that stayed wet longer than expected
- records of any changes in setup, such as more air movers, cavity drying, or different dehumidification strategy
Why does this matter? Because hidden moisture is often the reason a loss looks “done” before it actually is. TCR’s guide says water can hide behind walls and under floors, and its drying content says equipment and readings are used to decide whether the structure is really moving toward dry standard. That is the operational bridge between the early scene photos and the later reconstruction estimate.
This part of the file also protects you from the lazy narrative that “they just left fans there for days.” If the records show daily checks, moisture trends, and equipment adjustments, the file has a reason for the timeline.
What to save before demolition or disposal
Demolition is one of the biggest documentation turning points because the property may never look the same again afterward.
Before tear-out or disposal, preserve proof of what is being removed and why. That usually means:
- one more wide shot of the room before demolition starts
- close-ups of the materials being removed
- notes on whether the reason was contamination, swelling, loss of structural integrity, or inability to dry fully
- disposal photos or haul-off documentation when relevant
- updated estimates or scope notes that reflect the new condition once finishes are opened
The Insurance Information Institute says owners should avoid throwing out damaged items until the adjuster has visited when possible. Florida’s CFO materials similarly stress inventory discipline and receipts. FEMA’s flood-insurance materials go even farther for NFIP claims, emphasizing that policyholders remain responsible for supporting paperwork and proof even when an adjuster helps. That flood example should not be treated as a universal deadline for every water claim, but it is a good reminder that disposal without documentation can make later questions harder to answer.
The exception is health and safety. EPA says contaminated-water or sewage losses should be handled professionally, and contaminated or porous materials may need to be removed rather than saved. In those cases, your checklist becomes more important, not less: document the condition, document the hazard basis, and document what was removed.
How residential and commercial documentation needs diverge
Homes and businesses both need proof, but the file widens faster on commercial jobs.
TCR's residential emergency restoration page emphasizes homeowner guidance, direct insurance coordination, family disruption, and the importance of the first 24 to 48 hours. Its Miami commercial water-damage page adds another layer: detailed documentation for both property and business-interruption claims, coordination with building engineers, and after-hours work to reduce downtime.
That means a residential file often centers on rooms, belongings, displacement, and repair scope. A commercial file may also need:
- downtime notes by department or tenant area
- equipment or inventory protection records
- manager or engineer communications
- access logs or after-hours work notes
- photos that show customer-facing zones, common areas, or operations impact
- documentation that separates property damage from interruption consequences
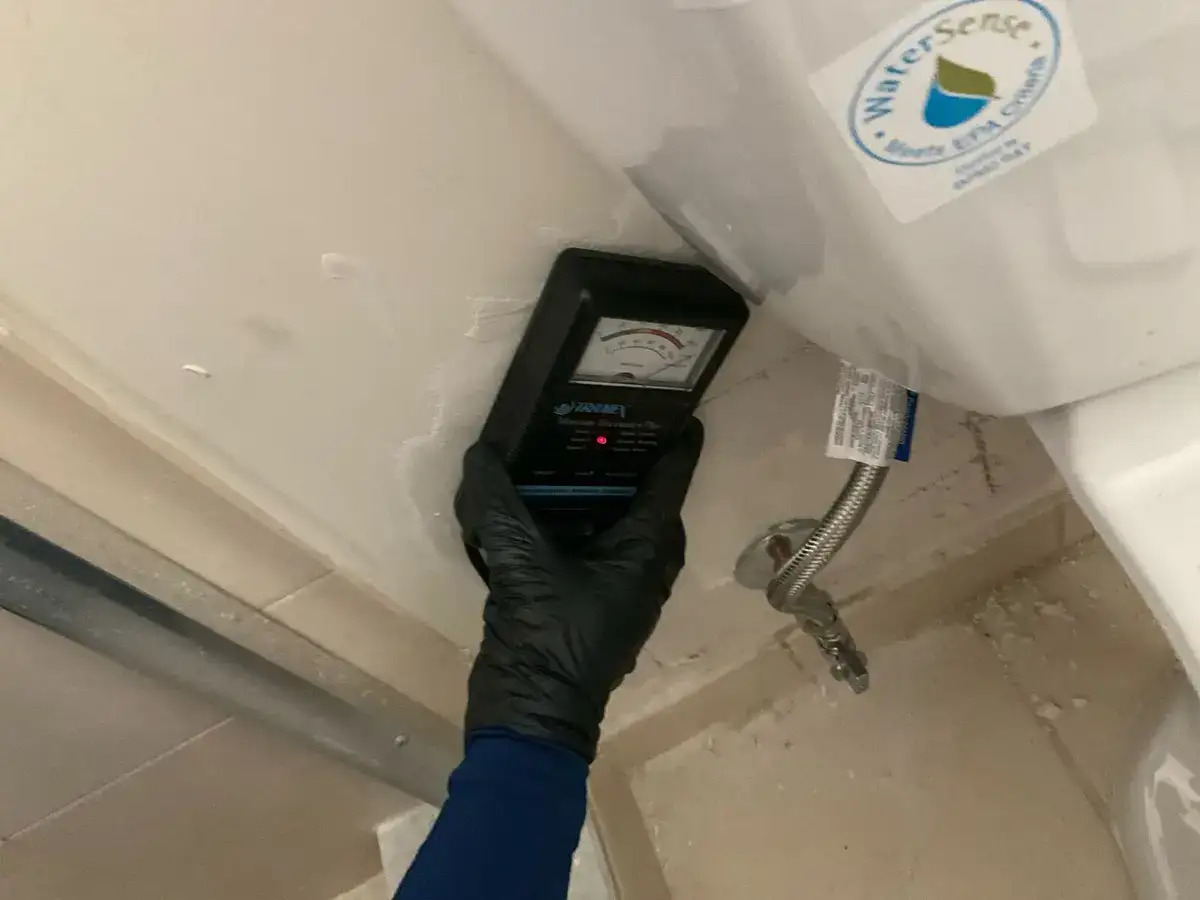
Commercial and residential jobs both need moisture verification, but business files usually need more coordination notes because operations and access are part of the story too.
The common principle is that both files should be understandable by someone who was not there. If the reader cannot tell what was wet, what was protected, what was removed, and what still needed verification, the file is not ready.
Questions to ask before you send or sign anything
Before you send the file to the carrier or sign a major document, pause long enough to ask:
- Does each affected room have wide shots, close-ups, and written notes?
- Can someone else match the receipts and invoices to the related work?
- Do the drying notes explain why equipment stayed in place as long as it did?
- Did I document materials before disposal or demolition changed the scene?
- Are temporary repairs clearly separated from permanent rebuild work?
- If a form uses estimates, measurements, or item values, did I record where those numbers came from?
- If this is a flood or policy-specific claim, have I confirmed the exact paperwork and deadlines that apply to my policy rather than assuming?
That last question matters more than people realize. Forms, deadlines, and proof requirements can vary by policy and claim type. The safest habit is to keep the file stronger than the minimum request rather than waiting to be told what you should have saved.
If your property is still wet, if hidden moisture is suspected, or if contamination is involved, let the documentation checklist support the restoration process instead of replacing it. The best paperwork in the world does not dry a wall cavity. It does, however, make the scope easier to understand once the right work has started.
This article is for general educational purposes, not legal, public-adjuster, or insurance-coverage advice. Claim forms, deadlines, and documentation requests vary by policy and by loss type, so confirm the exact requirements with your insurer and use qualified restoration professionals when safety, contamination, or hidden moisture are in question.
Want to Learn More?
Read our comprehensive guide covering everything you need to know about this topic.
The Complete Guide to Water Damage Restoration in South FloridaNeed Professional Help?
Our expert team is ready to assist with your water damage restoration needs.
View Water Damage Restoration Services